Mary Kelly
Before we dive into making the famous Jimmy John’s bread, let’s talk about what you can pair it with. This bread is not only delightful on its own, but it also sets the stage for various delicious sandwiches.
Imagine a hearty turkey club, loaded with crisp lettuce, juicy tomatoes, and your favorite condiments. Or a classic Italian sub bursting with salami, ham, and provolone. Pair this bread with a crunchy pickle on the side or a refreshing bowl of pasta salad, and you’ve got a meal worthy of any gathering!

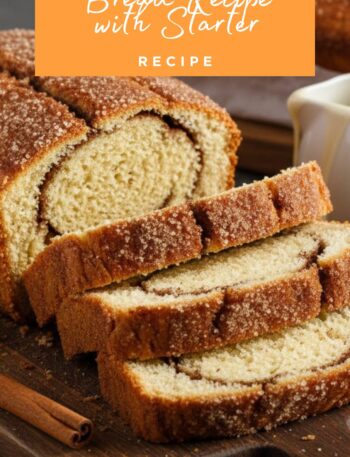
Today, I’m thrilled to share a recipe that brings the beloved flavor of Jimmy John’s right to your kitchen: Jimmy John’s bread. There’s something about biting into a fresh sandwich made with soft, yet crusty bread that makes the taste buds dance. As a registered dietitian and an enthusiastic food blogger, I’ve tested and refined this recipe to ensure the texture is just right and the flavor shines.
Making this bread is not just about enjoying a good meal; it’s about reviving memories and bringing joy to the table. Does that sound like something you want to dive into? Trust me, you won’t regret it. Let’s jump right into the details of the Jimmy John’s bread recipe!
What is Jimmy John’s Bread?
Jimmy John’s bread is known for its unique soft and chewy texture. It’s often described as a sub roll that gives you the perfect vehicle for all sorts of sandwich fillings. The key components of this bread recipe include high-gluten bread flour, a touch of sweetness, and a blend of oils that keeps the bread moist and prevents it from becoming too dense.
Why You’ll Love This Jimmy John’s Bread Recipe
This recipe stands out for several reasons. First, it’s straightforward. You don’t need to be a seasoned baker to achieve great results. Secondly, the flavor is incredible. The marriage of honey or maple syrup and grated Parmesan cheese adds a nuanced taste that elevates simple sandwiches. Most importantly, this bread is versatile. Use it to whip up various sandwich options or enjoy it toasted with a bit of butter.
The hands-on experience of kneading the dough, letting it rise, and then baking your own bread is incredibly fulfilling. It transforms a simple meal into something special, because there’s something magical about homemade bread.
The Ingredients You Will Need To Make Jimmy John’s Bread
To get started, you need to gather the following ingredients:
- 1/2 cup lukewarm water
- 1 1/2 cups warm water
- 2 Tablespoons active dry yeast
- 1 Tablespoon granulated sugar
- 3 Tablespoons honey or maple syrup (for added sweetness and depth)
- 1/3 cup vegetable oil
- 1 tablespoon olive oil
- 3 cups high-gluten bread flour
- 3 cups all-purpose flour
- 2 teaspoons fine sea salt
- 1/4 cup freshly grated Parmesan cheese

Directions
Step 1: Prepare the Yeast Mixture
Start by combining the lukewarm water, active dry yeast, and granulated sugar in a measuring cup. Stir gently and let it sit for about 5-10 minutes. This step is crucial for activating the yeast. When it’s ready, you should see a frothy layer forming on top.
Step 2: Mix the Wet Ingredients
In a large mixing bowl, combine the warm water, honey (or maple syrup), vegetable oil, and olive oil. Once combined, add the yeast mixture to this bowl. Mix thoroughly until everything is well incorporated.
Step 3: Combine the Dry Ingredients
In a separate bowl, whisk together the high-gluten bread flour, all-purpose flour, sea salt, and grated Parmesan cheese. This helps to evenly distribute the salt and cheese throughout the mixture, preventing clumps.
Step 4: Form the Dough
Gradually add the dry ingredients to the wet mixture. Use a wooden spoon or your hands to combine them until a dough starts to form. Once it becomes too difficult to stir, turn the dough out onto a floured surface.
Step 5: Knead the Dough
Knead the dough for about 8-10 minutes. You want a smooth, elastic texture. If the dough feels too sticky, sprinkle a little more flour as needed. Kneading activates the gluten, which is key for a good bread texture.
Step 6: First Rise
Place the dough in a lightly oiled bowl and cover it with a clean kitchen towel. Allow it to rise in a warm area for about 1 to 1.5 hours, or until it has doubled in size. Patience is key here!
Step 7: Shape and Prepare for Second Rise
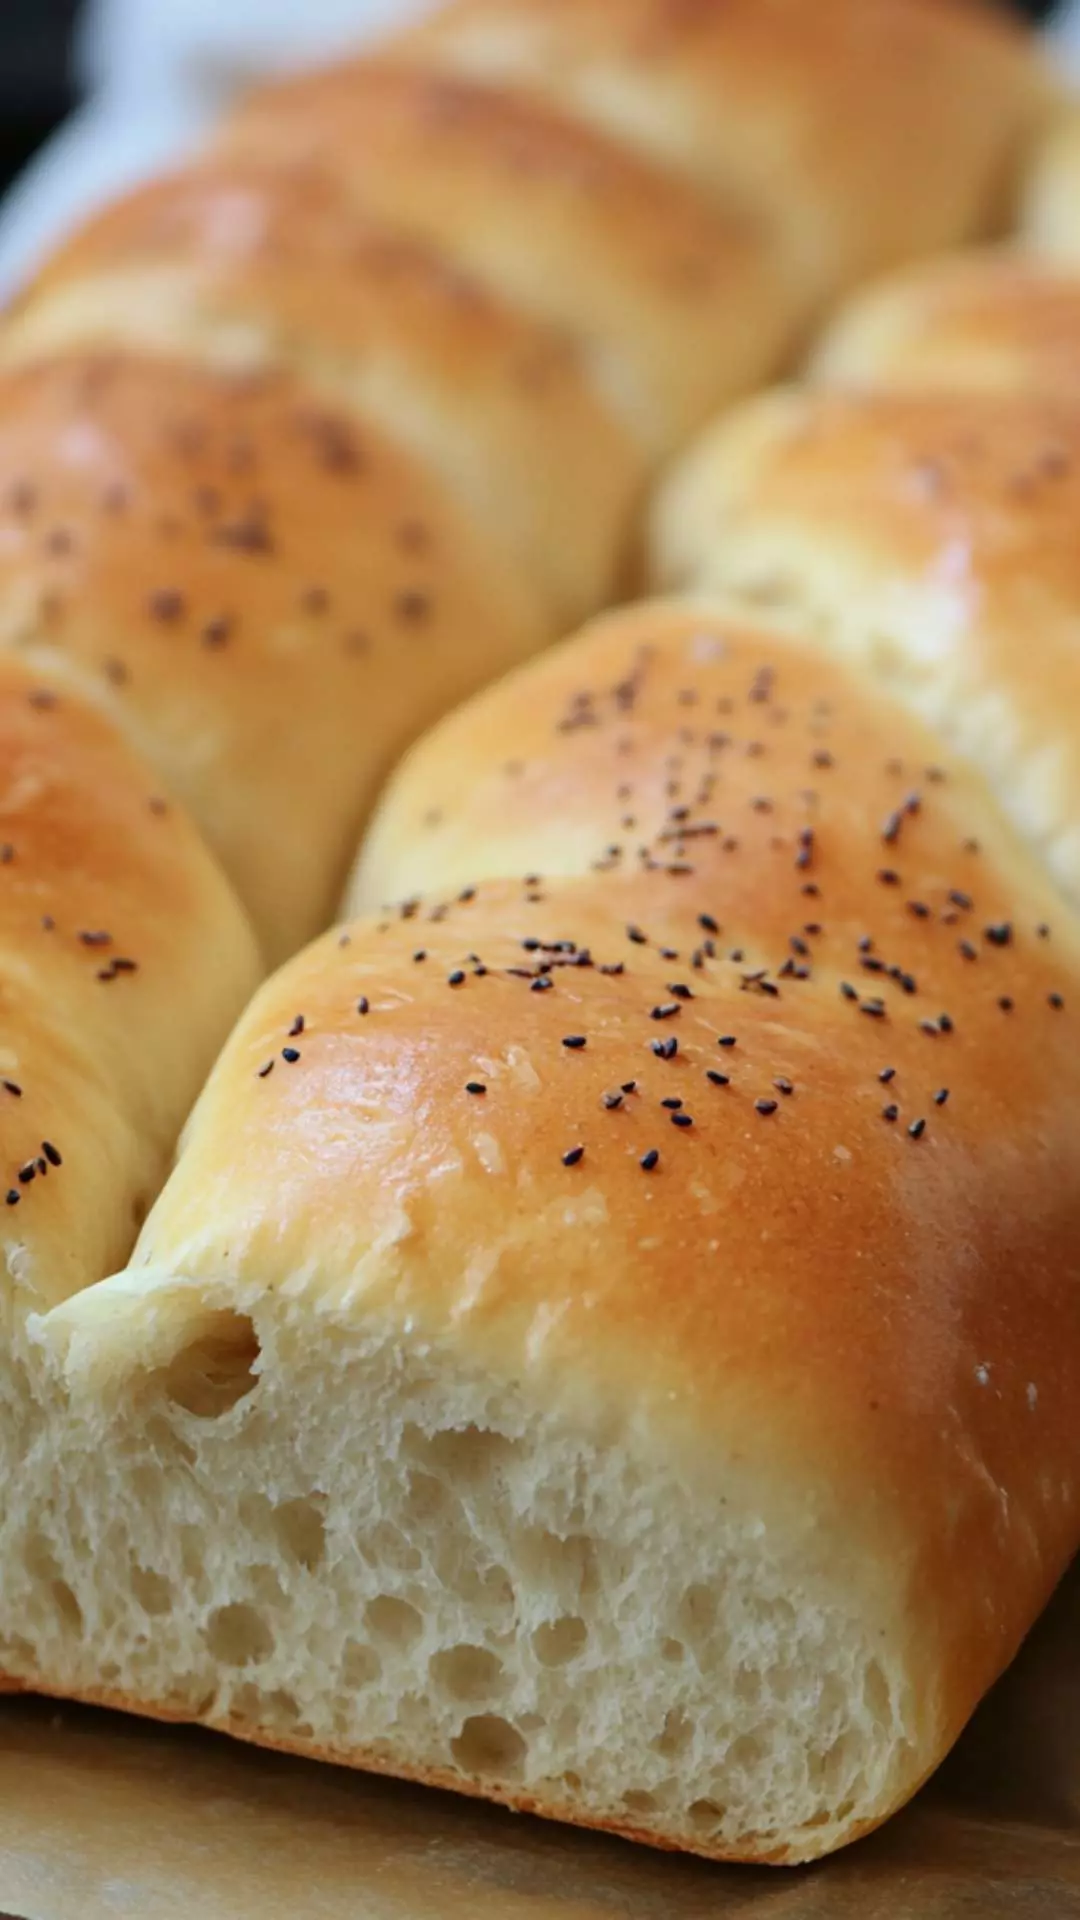
Once risen, punch down the dough gently to release the air. Turn it out onto a floured surface and divide it into portions, usually enough for 2-3 large loaves, or 8-10 individual sub rolls. Form each portion into a log, then place it on a baking sheet lined with parchment paper.
Step 8: Second Rise
Cover the shaped dough again and let it rise for another 30-45 minutes. You should see them puff up nicely during this time.
Step 9: Preheat Your Oven
While the dough is doing its second rise, preheat your oven to 375°F (190°C). This ensures that the bread will go into a hot oven, resulting in that perfect crust.
Step 10: Bake
After the final rise, bake the loaves in the preheated oven for about 20-25 minutes, or until they’re golden brown. The bread should sound hollow when you tap it on the bottom. Remove from the oven and let cool on a wire rack.
Notes
Here are some helpful tips to get the best results:
- Hydration Matters: Dough hydration plays a key role in texture. Ensuring your water temperature is appropriate will help activate the yeast effectively.
- Don’t Rush the Rises: Allowing thorough rises ensures a light and airy bread.
- Oven Thermometer: Consider using an oven thermometer to ensure your oven is at the right temperature.
- Experiment with Flavors: Don’t shy away from adding herbs or other spices to the dough for a twist.
- Parmesan Substitution: If you don’t have Parmesan, any hard cheese works just fine.
Storage Tips
Once your delicious bread cools, you can store it in a few ways. For short-term, keep it wrapped in plastic or in a sealed paper bag at room temperature. For longer storage, wrap tightly in plastic wrap and freeze it. When you’re ready to enjoy, thaw at room temperature or pop it in the oven for a quick refresh.

Nutrition Information

Serving Suggestions
Here are some delightful ways to enjoy this bread:
- Turkey Club Sandwich: Layer turkey, bacon, lettuce, and tomatoes, and drizzle with your favorite mayo. Perfect for a hearty lunch!
- Italian Sub: Fill with salami, ham, provolone cheese, and pepperoncini. A classic combo that never disappoints.
- Veggie Delight: Layer grilled vegetables with hummus for a satisfying vegetarian option.
- Breakfast Sandwich: Use the bread for a morning sandwich with eggs, cheese, and spinach.
- Garlic Bread: Slice the loaf, add butter and garlic, then broil for an amazing side dish.
What Other Substitutes Can I Use in Jimmy John’s Bread Recipe?
If you’re missing an ingredient or want to change things up, here are some substitutes:
- King Arthur Flour Bread Flour: This is a great high-gluten flour option, perfect for achieving that chewy texture.
- Almond Milk: If you’d like a dairy-free option, use almond milk in place of standard flour.
- Honey Variants: Try using agave nectar or brown sugar in place of honey for different sweetness profiles.
- Gluten-Free Flour: Use a 1:1 gluten-free baking flour mix if you need it gluten-free—it works surprisingly well!
- Parmesan Cheddar: If you’re looking for a sharper flavor, aged cheddar can be a delicious substitute.
Jimmy John’s Bread Recipe
Ingredients
Equipment
Method
- Start by combining the lukewarm water, active dry yeast, and granulated sugar in a measuring cup. Stir gently and let it sit for about 5-10 minutes. This step is crucial for activating the yeast. When it’s ready, you should see a frothy layer forming on top.
- In a large mixing bowl, combine the warm water, honey (or maple syrup), vegetable oil, and olive oil. Once combined, add the yeast mixture to this bowl. Mix thoroughly until everything is well incorporated.
- In a separate bowl, whisk together the high-gluten bread flour, all-purpose flour, sea salt, and grated Parmesan cheese. This helps to evenly distribute the salt and cheese throughout the mixture, preventing clumps.
- Gradually add the dry ingredients to the wet mixture. Use a wooden spoon or your hands to combine them until a dough starts to form. Once it becomes too difficult to stir, turn the dough out onto a floured surface.
- Knead the dough for about 8-10 minutes. You want a smooth, elastic texture. If the dough feels too sticky, sprinkle a little more flour as needed. Kneading activates the gluten, which is key for a good bread texture.
- Place the dough in a lightly oiled bowl and cover it with a clean kitchen towel. Allow it to rise in a warm area for about 1 to 1.5 hours, or until it has doubled in size. Patience is key here!
- Once risen, punch down the dough gently to release the air. Turn it out onto a floured surface and divide it into portions, usually enough for 2-3 large loaves, or 8-10 individual sub rolls. Form each portion into a log, then place it on a baking sheet lined with parchment paper.
- Cover the shaped dough again and let it rise for another 30-45 minutes. You should see them puff up nicely during this time.
- While the dough is doing its second rise, preheat your oven to 375°F (190°C). This ensures that the bread will go into a hot oven, resulting in that perfect crust.
- After the final rise, bake the loaves in the preheated oven for about 20-25 minutes, or until they’re golden brown. The bread should sound hollow when you tap it on the bottom. Remove from the oven and let cool on a wire rack.
Nutrition
Notes
- Hydration Matters: Dough hydration plays a key role in texture. Ensuring your water temperature is appropriate will help activate the yeast effectively.
- Don’t Rush the Rises: Allowing thorough rises ensures a light and airy bread.
- Oven Thermometer: Consider using an oven thermometer to ensure your oven is at the right temperature.
- Experiment with Flavors: Don’t shy away from adding herbs or other spices to the dough for a twist.
- Parmesan Substitution: If you don’t have Parmesan, any hard cheese works just fine.
Tried this recipe?
Let us know how it was!Frequently Asked Questions
Conclusion
Making Jimmy John’s bread at home is a gratifying and delicious endeavor. This recipe offers not just a wonderful bread, but a base for countless sandwich creations. From its tender crumb to its rich flavor, this bread is bound to impress. So, gather your ingredients, get baking, and let the homemade bread transform your meals into something extraordinary!
If you’ve enjoyed this recipe, be sure to check out more of my food blogs for delightful recipes and cooking tips. Happy baking!