Mary Kelly
Picture this: a cozy afternoon gathering or a summer barbecue where flavors dance in the sunlight. The centerpiece? A plate of warm, gooey Jimmy John’s red velvet brownies. But don’t stop there; the pairing is everything. These brownies, with their rich texture and undeniable appeal, can be perfectly complemented by a scoop of vanilla ice cream.
Or how about a dollop of freshly whipped cream sprinkled with shredded coconut? The creaminess balances the brownie’s slight chewiness. For those who enjoy a tart contrast, serve them alongside fresh raspberries or strawberries. Their acidity cuts through the sweetness, making for a delightful flavor explosion.
Alright, let’s get into this treat.

Have you ever sunk your teeth into something so delicious it feels like a warm hug? That’s the magic of red velvet brownies. I remember the first time I encountered them at Jimmy John’s. The color pops, the rich cocoa flavor dances, and the cream cheese swirls add a delightful twist.
What’s more, this recipe brings that experience right to your kitchen. This is no bland dessert; it offers depth, flavor, and nostalgia for every bite. It’s simple enough for a weekday treat but impressive enough to serve to guests. In the pages that follow, I’ll guide you through creating these delightful brownies, what makes them so special, and even some tips to help you perfect your baking game.
What is Jimmy John’s Red Velvet Brownie?
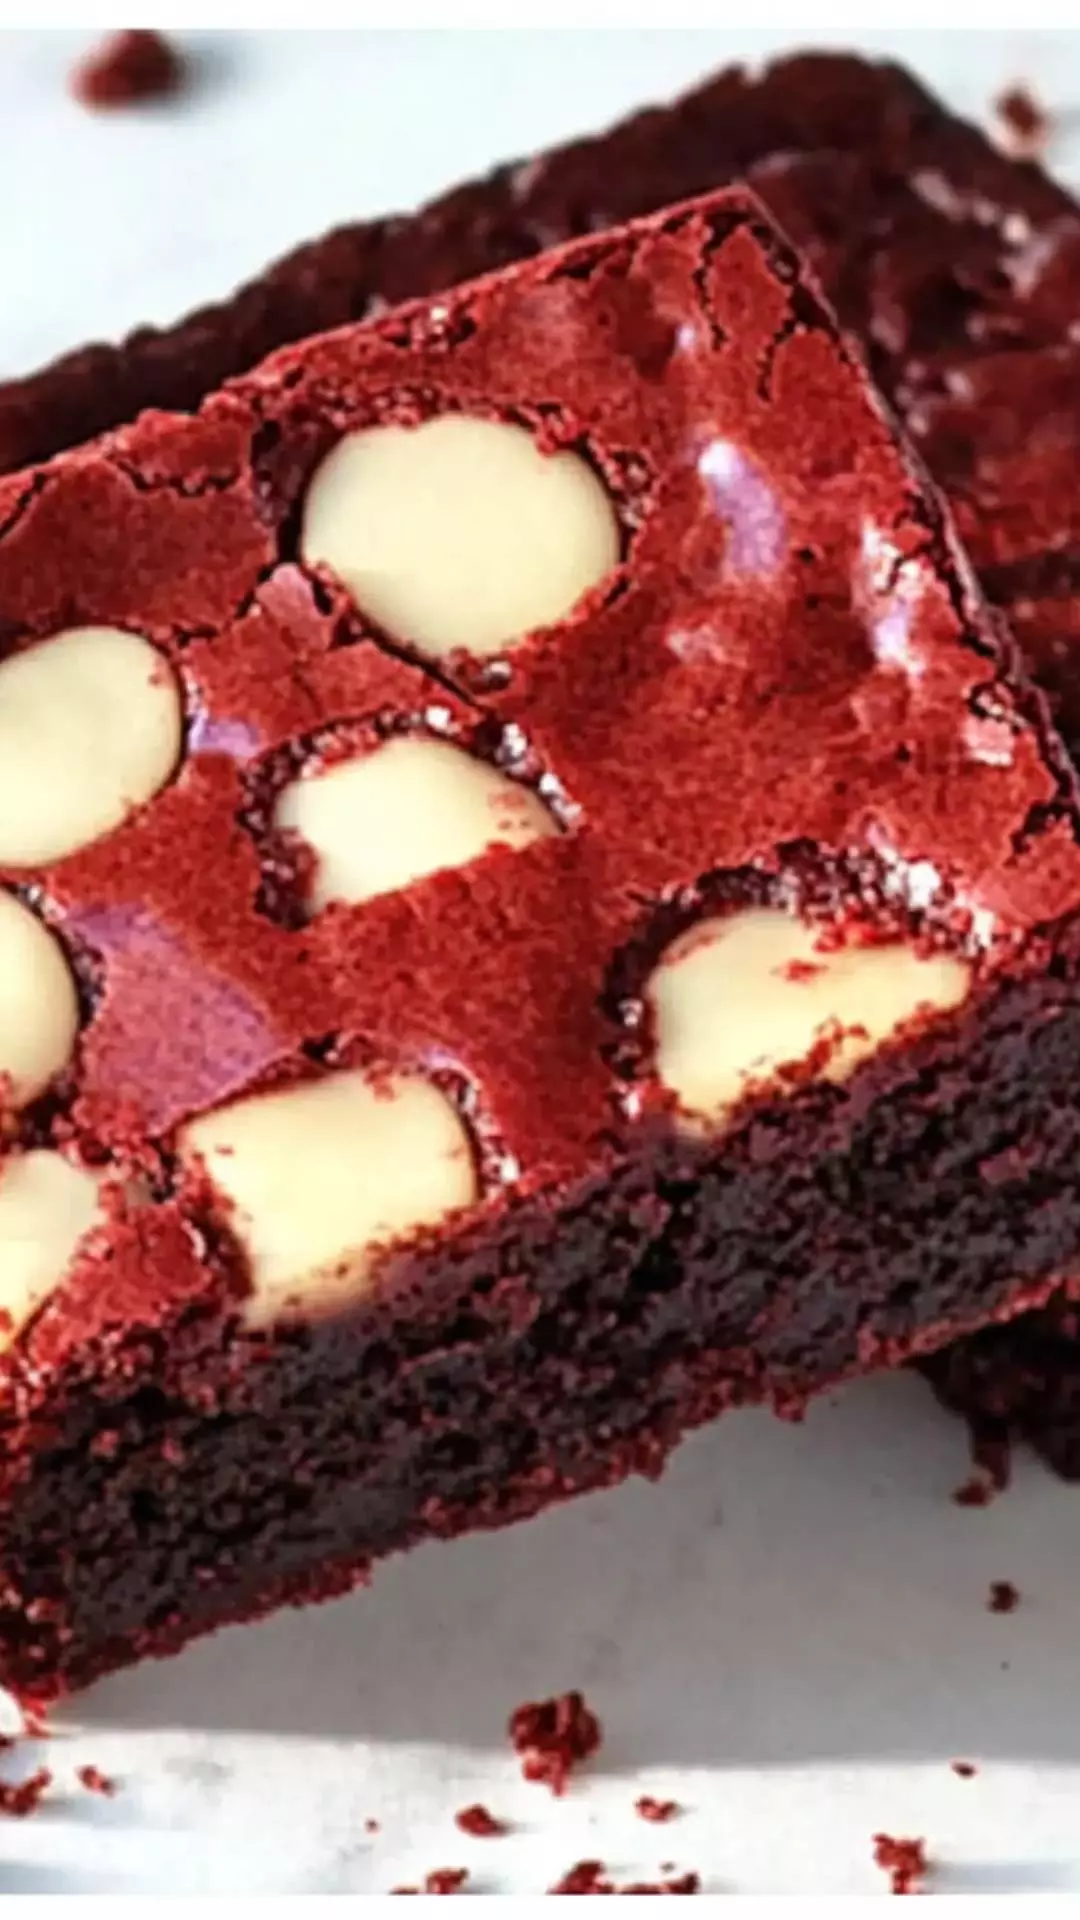
At its core, the Jimmy John’s red velvet brownie recipe combines the fundamental flavors of traditional red velvet cake with the chewy texture of a brownie. Think about the vibrancy of red velvet combined with the richness of chocolate. To create this dreamy concoction, the recipe includes a rich red velvet layer topped with a luscious cream cheese layer. The butteriness of the ingredients ensures that each bite melts in your mouth.
How Does It Taste Like?
The moment you take a bite, you’re greeted by a complexity of flavors. The cocoa powder provides that indulgent chocolatey taste, while the red gel food coloring adds to that striking appearance. The cream cheese layer brings in a tanginess that perfectly balances the sweetness of the brownie, creating a dynamic flavor profile that keeps you coming back for more.
Why You’ll Love This?
Here’s the kicker: this recipe combines indulgence with nostalgia. The beautiful red color and the creaminess of the cheese evoke the joy of celebrations. Beyond that, it’s an easy recipe to follow, making these brownies accessible even if you’re not a baking expert. You can whip them up for potlucks, birthday parties, or simply as an everyday dessert delight. And let’s face it—who can resist brownies? This recipe adds a kick of style and class to a classic treat.
Ingredients for Jimmy John’s Red Velvet Brownie Recipe
Butter Layer:
- 1 teaspoon of butter
Red Velvet Layer:
- ¾ cup all-purpose flour
- 1 teaspoon apple cider vinegar
- 1 tablespoon red gel food coloring
- ¼ cup unsweetened cocoa powder
- ½ cup melted unsalted butter
- 1 teaspoon pure vanilla extract
- 2 large eggs, beaten
- 1 cup granulated sugar
- A tiny pinch of sea salt
- ¼ teaspoon ground cinnamon
Cream Cheese Layer:
- 1 tablespoon sour cream
- ¼ cup granulated sugar
- 1 egg
- ½ teaspoon pure vanilla extract
- 1 (8-ounce) package softened cream cheese

Step-by-Step Directions
Step 1: Preheat Your Oven
First things first. Preheat your oven to 350°F (175°C). This step is crucial as it ensures the brownies bake evenly. Grease an 8×8-inch pan or line it with parchment paper, letting the paper hang over the edges for easy removal later.
Step 2: Prepare the Red Velvet Layer
In a mixing bowl, combine the melted unsalted butter with granulated sugar. Whisk until smooth. Then, add the beaten eggs and the vanilla extract, mixing well. For an eye-catching hue, add the red gel food coloring and stir until the mix turns a vibrant shade of red.
Next, incorporate the flour, cocoa powder, sea salt, cinnamon, and apple cider vinegar into the mixture. This step is all about blending the dry and wet ingredients to achieve a velvety texture. Set this mix aside.
Step 3: Make the Cream Cheese Layer
In another bowl, beat the softened cream cheese using an electric mixer. Add in the sugar and continue mixing until creamy and smooth. Toss in the egg and vanilla extract, blending until you achieve a consistent texture.
Step 4: Assemble the Brownies
Pour half of the red velvet mixture into the prepared pan. Spread it evenly, creating that even layer of deliciousness. Now, slowly pour in the cream cheese mixture over the red velvet layer. Use a spatula to smooth it out—this will create a beautiful marbled effect. Lastly, pour the remaining red velvet batter on top. Don’t worry about making it perfect; the imperfectly swirled finish adds character!
Step 5: Bake
Place the pan in the oven and bake for around 25-30 minutes. You’ll know they are done when the edges look set, and a toothpick inserted in the center comes out with a few moist crumbs. Remember, overbaking can lead to dry brownies, so keep a watchful eye.
Step 6: Cool and Cut
Once out of the oven, let the brownies cool in the pan for about 15-20 minutes. Use the parchment paper to lift them out and onto a wire rack for further cooling. Once they’ve cooled completely, slice them into squares!
Tips On Making Jimmy John’s Red Velvet Brownie
- Quality Ingredients: Use high-quality unsweetened cocoa powder. It greatly enhances the chocolate flavor.
- Room Temperature Cream Cheese: Ensure your cream cheese is at room temperature for a smooth cream cheese layer.
- Don’t Overmix: When mixing the red velvet batter, avoid overmixing once you’ve added flour. This keeps your brownies tender.
- Let Them Sit: For the best flavor, let the brownies sit for a few hours before cutting. The flavors settle beautifully.
- Serving Suggestions: Serve with a scoop of vanilla ice cream or a dollop of whipped cream for an extra treat.

Nutrition Information

How Do You Store This Jimmy John’s Red Velvet Brownie?
Store these delicious brownies in an airtight container at room temperature for up to three days. If you want them to last longer, you can refrigerate them for up to a week. For extended storage, wrap them in plastic wrap and freeze. They’ll stay tasty for up to three months.
What Other Substitutes Can You Use in Jimmy John’s Red Velvet Brownie Recipe?
- Flour: If you’re looking for gluten-free options, try almond flour or a gluten-free all-purpose flour blend.
- Butter: Coconut oil serves as a delightful alternative for a touch of coconut flavor while keeping it dairy-free.
- Gel Food Coloring: For a natural option, use beet juice instead of red gel food coloring for that classic hue.
- Sugar: Coconut sugar or a sugar substitute can reduce the sweetness while offering more nutrients.
- Egg: Flax eggs can replace the eggs if you prefer a vegan alternative. Mix one tablespoon of ground flaxseed with three tablespoons of water for each egg.
Jimmy John’s Red Velvet Brownie Recipe
Ingredients
Equipment
Method
- First things first. Preheat your oven to 350°F (175°C). This step is crucial as it ensures the brownies bake evenly. Grease an 8×8-inch pan or line it with parchment paper, letting the paper hang over the edges for easy removal later.
- In a mixing bowl, combine the melted unsalted butter with granulated sugar. Whisk until smooth. Then, add the beaten eggs and the vanilla extract, mixing well. For an eye-catching hue, add the red gel food coloring and stir until the mix turns a vibrant shade of red.
- Next, incorporate the flour, cocoa powder, sea salt, cinnamon, and apple cider vinegar into the mixture. This step is all about blending the dry and wet ingredients to achieve a velvety texture. Set this mix aside.
- In another bowl, beat the softened cream cheese using an electric mixer. Add in the sugar and continue mixing until creamy and smooth. Toss in the egg and vanilla extract, blending until you achieve a consistent texture.
- Pour half of the red velvet mixture into the prepared pan. Spread it evenly, creating that even layer of deliciousness. Now, slowly pour in the cream cheese mixture over the red velvet layer. Use a spatula to smooth it out—this will create a beautiful marbled effect. Lastly, pour the remaining red velvet batter on top. Don’t worry about making it perfect; the imperfectly swirled finish adds character!
- Place the pan in the oven and bake for around 25-30 minutes. You’ll know they are done when the edges look set, and a toothpick inserted in the center comes out with a few moist crumbs. Remember, overbaking can lead to dry brownies, so keep a watchful eye.
- Once out of the oven, let the brownies cool in the pan for about 15-20 minutes. Use the parchment paper to lift them out and onto a wire rack for further cooling. Once they’ve cooled completely, slice them into squares!
Nutrition
Notes
- Quality Ingredients: Use high-quality unsweetened cocoa powder. It greatly enhances the chocolate flavor.
- Room Temperature Cream Cheese: Ensure your cream cheese is at room temperature for a smooth cream cheese layer.
- Don’t Overmix: When mixing the red velvet batter, avoid overmixing once you’ve added flour. This keeps your brownies tender.
- Let Them Sit: For the best flavor, let the brownies sit for a few hours before cutting. The flavors settle beautifully.
- Serving Suggestions: Serve with a scoop of vanilla ice cream or a dollop of whipped cream for an extra treat.
Tried this recipe?
Let us know how it was!Frequently Asked Questions
Conclusion
Baking Jimmy John’s red velvet brownies at home is not merely about satisfying your sweet tooth; it’s about creating unforgettable memories and moments. They’re sweet, rich, and utterly divine—a testament to the baking magic one can achieve in their kitchen. Trust me when I say, once you whip these up, they’ll be a staple in your dessert repertoire.
So fire up that oven and get ready to impress your friends and family with a classic treat that never goes out of style! Grab your ingredients, roll up your sleeves, and let the deliciousness unfold. Happy baking!