 Mary Kelly
Picture this: You’ve got a big family dinner planned or maybe a casual afternoon gathering. The table is set, and all that’s missing is something warm and comforting. Enter the scene-stealer, a loaf of freshly baked Amish bread.
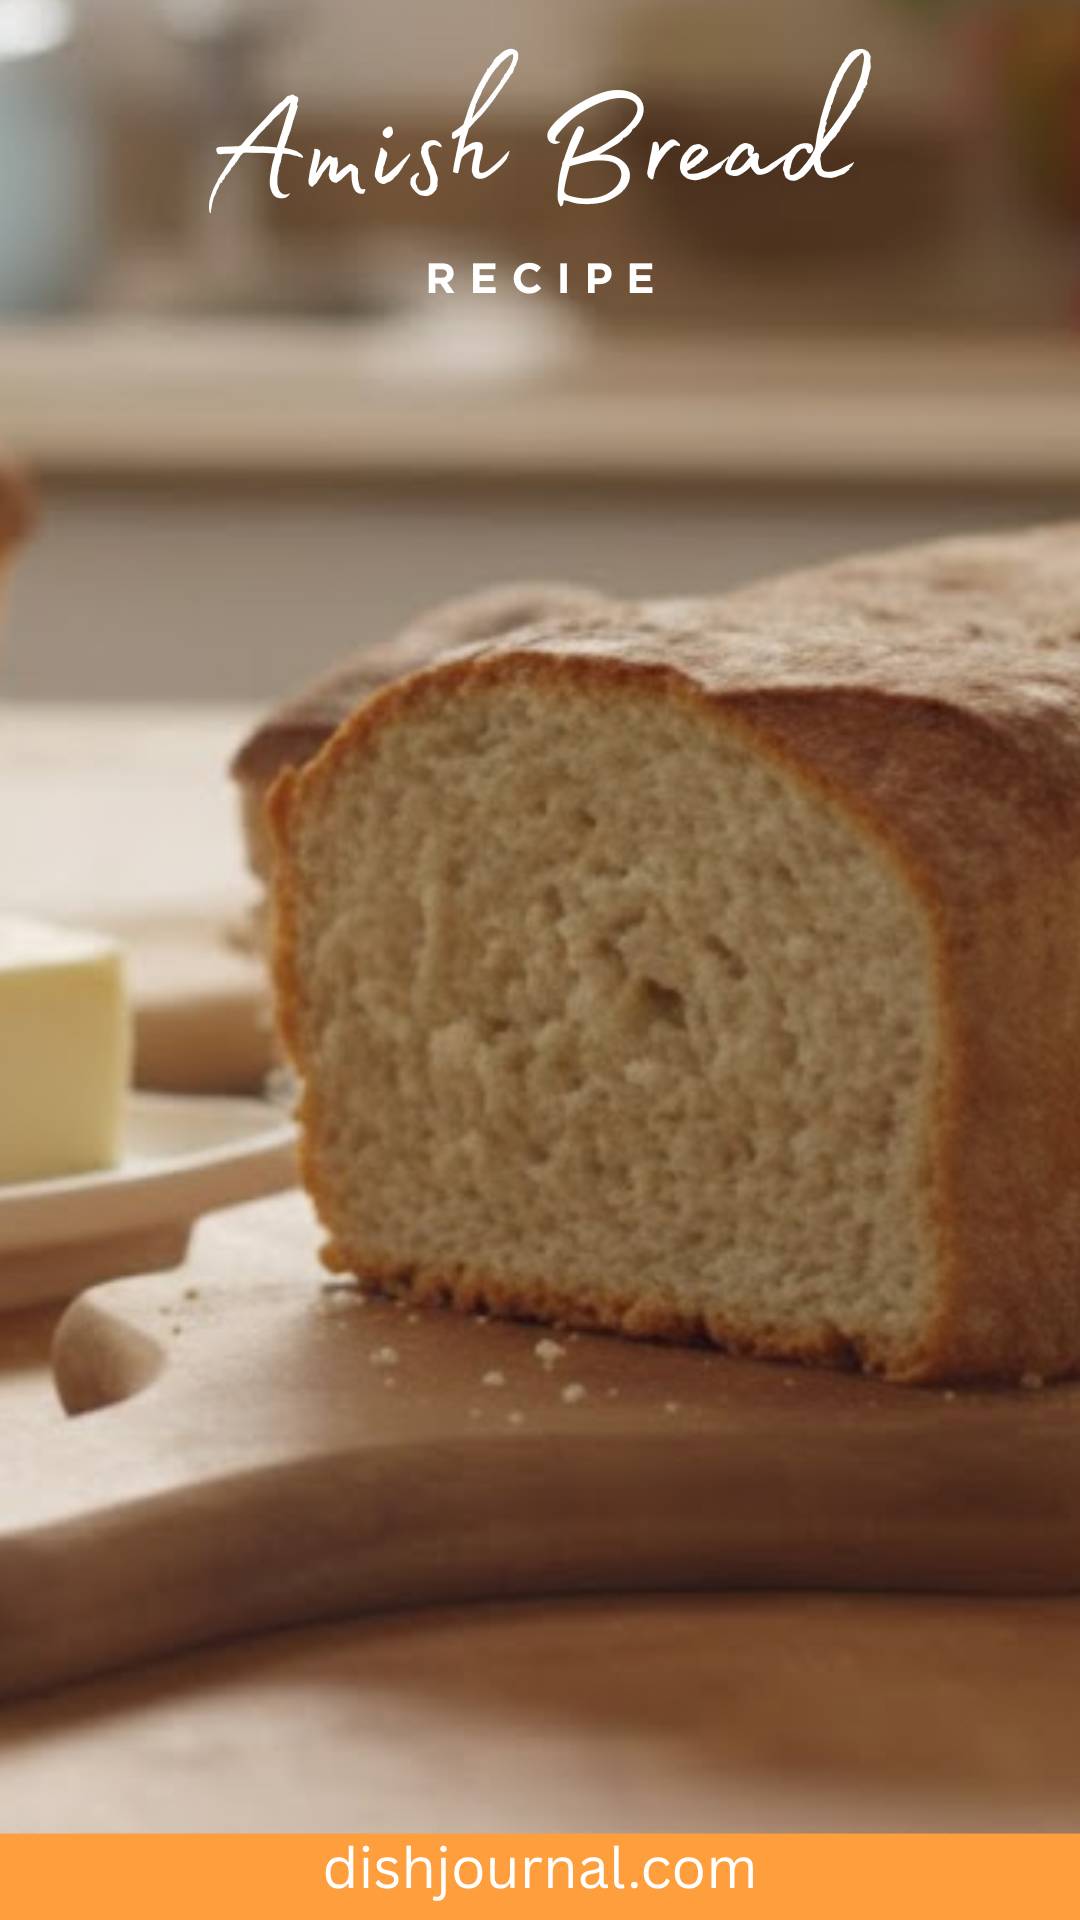
There’s nothing quite like serving a slice still warm from the oven, slathered in a bit of butter and paired with your favorite jam. It’s perfect alongside soups, salads, or even just as a snack on its own! I promise, it’ll have everyone coming back for seconds.

Amish bread has a special place in my heart and in kitchens across America. Known for its simplicity and rich taste, this homemade bread is a delightful reminder of simpler times and hearty meals.
What I love about this bread is how it fills your home with the smell of fresh-baked goodness. With just a handful of ingredients, you can create something that feels rustic yet sophisticated. It’s the kind of recipe that feels like a hug in loaf form.
You Might Like These Recipes!
What is the flavor profile of this dish?
The flavor of Amish bread is mild yet fulfilling. It features a touch of sweetness from the sugar, balanced by the subtle earthiness of yeast. The texture is soft and fluffy, with a slight chew from the crust that forms while baking. You can easily adapt this bread with different additions like herbs or spices, allowing the flavors to shift as you prefer. Imagine serving it with savory dishes or enjoying it warm on its own—every bite is comforting!
What Makes This Recipe Different From Other Amish Bread Recipes?
Many Amish bread recipes take a similar route—flour, water, sugar, yeast—but I like to tweak things a bit. My recipe uses vegetable oil instead of butter for a lighter texture, and I’ve added a hint of garlic powder for an unexpected twist. It deepens the flavor without overwhelming it, making it suitable for any spread from butter to hummus. Plus, the bread has just the right sweetness to pair beautifully with both savory and sweet toppings.
The Ingredients You’ll Need

Here’s what you’ll need to whip up these delightful loaves:
– 6 cups bread flour
– ⅔ cup granulated sugar
– 1 ½ tablespoons active dry yeast
– ¼ cup vegetable oil
– 1 ½ teaspoons salt
– 2 cups warm water (around 110°F/45°C)
– Optional: 1 teaspoon garlic powder for added flavor
Feel free to get creative with flavors or even add a sprinkle of your favorite herb!
Ingredients From : allrecipes.com
How to Make Amish Bread
Let’s dive into the steps of making this delightful bread. Don’t worry; I’ll guide you through it. Before you know it, you’ll have lovely loaves cooling on your countertop, ready to impress your family and friends.
Step-by-Step Directions:
Step 1: Gather Your Ingredients

Start by assembling all your ingredients on a clean countertop. This ensures you have everything at hand, making the process smoother and faster. Think of it like prepping for a cooking show, minus the cameras!
Step 2: Activate the Yeast

In a large mixing bowl, pour the warm water (make sure it’s not too hot—110°F is just right). Add the granulated sugar and stir until it dissolves completely. Now, sprinkle the active dry yeast over this mixture. Let it sit for about 5 to 10 minutes, or until it looks frothy and bubbly. This means your yeast is alive and ready to work its magic!
Step 3: Mix in Oil and Salt

Once your yeast is proofed, add the vegetable oil and salt to the bowl. Stir gently to combine. The oil contributes to the dough’s softness, while the salt brings out the overall flavor.
Step 4: Gradually Add Flour

Begin adding the bread flour, one cup at a time. Use a wooden spoon or a spatula to incorporate it well with each addition. The dough will start to come together, getting thicker and more kneadable. You might need to switch to your hands eventually!
Step 5: Knead the Dough

Turn the dough out onto a lightly floured surface. Here comes the fun part. Knead the dough with your hands for about 8 to 10 minutes, or until it’s smooth and elastic. If the dough is sticky, dust a little flour to help with the kneading process. You’ll know it’s ready when it springs back when you poke it!
Step 6: First Rise

Place your kneaded dough into a well-oiled bowl, making sure to turn it around so it gets coated in oil. After that, cover it with a damp cloth and let it rise in a warm spot for about an hour, or until it doubles in size. This is where the yeast really gets to work!
Step 7: Shape the Loaves
Once your dough has risen, punch it down gently to release the air. Knead it slightly for a few minutes, then divide it in half. Shape each half into a loaf and position them in two well-oiled 9×5-inch loaf pans.
Step 8: Second Rise
Cover the loaf pans with that damp cloth again. Allow it to rise for another 30 minutes or until the dough has risen above the pans by about an inch. Now’s the time to preheat your oven to 350°F (175°C).
Step 9: Bake
When the dough has risen adequately, place the pans in your preheated oven. Bake for approximately 30 minutes or until the tops turn a beautiful golden brown. Your kitchen will start smelling heavenly!
Step 10: Cool & Enjoy!
Once out of the oven, let the loaves cool in the pans for a few minutes before transferring them to a wire rack. Allow them to cool fully before slicing. But let’s be honest, cutting off a warm piece for yourself while it’s still steaming is an experience you shouldn’t skip!
Tips On Making Amish Bread
– Measure Correctly: Use a kitchen scale for precise measurements if you have one. Baking is scientific, after all.
– Watch the Yeast: Make sure your yeast is fresh. An old packet might not activate, leaving you with flat bread.
– Knead Thoroughly: Don’t rush the kneading process—this develops gluten, giving bread that desired chewy texture.
– Experiment with Flavors: Think herbs, spices, or even cheese! Just keep the primary proportions intact.
– Don’t Skip the Rises: Allow your dough to rise adequately, as this is where the flavor and texture develop.
Storage Tips
To keep your Amish bread fresh, wrap it in plastic wrap or aluminum foil and store it at room temperature. If you plan to keep it longer than a few days, slice the bread and store it in an airtight container in the freezer. Just pull out a slice whenever you’re ready, pop it in the toaster, and enjoy that fresh-baked feel.
Serving Suggestions
Here are some fun ways to enjoy your fresh Amish bread:
– Toasted with Jam: Spread your favorite jam or honey on warm toast for a delightful breakfast.
– Grilled Cheese: Use slices for an indulgent grilled cheese. Picture melted cheese oozing out—yum!
– Bread Pudding: Stale pieces of bread can be transformed into a delicious bread pudding with a little creativity!
– Garnished with Herb Butter: Mix softened butter with herbs and spread it on warm slices for a gourmet touch.
– Soup Companion: Serve it alongside your favorite hearty soup, perfect for dipping!
If some of the items are not available in your kitchen, what are some substitute options for the ingredients?
– Granulated Sugar: You can opt for honey or maple syrup, using a little less as they are sweeter.
– Bread Flour: All-purpose flour works too but may make a slightly denser bread.
– Vegetable Oil: Olive oil or melted coconut oil would work beautifully as well.
– Active Dry Yeast: You can use instant yeast; just add it directly to the flour without proofing.
– Garlic Powder: Fresh garlic finely minced or omitted completely if you’re after a simple flavor.
Amish Bread Recipe
Ingredients
Equipment
Method
- Start by assembling all your ingredients on a clean countertop. This ensures you have everything at hand, making the process smoother and faster. Think of it like prepping for a cooking show, minus the cameras!
- In a large mixing bowl, pour the warm water (make sure it’s not too hot—110°F is just right). Add the granulated sugar and stir until it dissolves completely. Now, sprinkle the active dry yeast over this mixture. Let it sit for about 5 to 10 minutes, or until it looks frothy and bubbly. This means your yeast is alive and ready to work its magic!
- Once your yeast is proofed, add the vegetable oil and salt to the bowl. Stir gently to combine. The oil contributes to the dough’s softness, while the salt brings out the overall flavor.
- Begin adding the bread flour, one cup at a time. Use a wooden spoon or a spatula to incorporate it well with each addition. The dough will start to come together, getting thicker and more kneadable. You might need to switch to your hands eventually!
- Turn the dough out onto a lightly floured surface. Here comes the fun part. Knead the dough with your hands for about 8 to 10 minutes, or until it’s smooth and elastic. If the dough is sticky, dust a little flour to help with the kneading process. You’ll know it’s ready when it springs back when you poke it!
- Place your kneaded dough into a well-oiled bowl, making sure to turn it around so it gets coated in oil. After that, cover it with a damp cloth and let it rise in a warm spot for about an hour, or until it doubles in size. This is where the yeast really gets to work!
- Once your dough has risen, punch it down gently to release the air. Knead it slightly for a few minutes, then divide it in half. Shape each half into a loaf and position them in two well-oiled 9×5-inch loaf pans.
- Cover the loaf pans with that damp cloth again. Allow it to rise for another 30 minutes or until the dough has risen above the pans by about an inch. Now’s the time to preheat your oven to 350°F (175°C).
- When the dough has risen adequately, place the pans in your preheated oven. Bake for approximately 30 minutes or until the tops turn a beautiful golden brown. Your kitchen will start smelling heavenly!
- Once out of the oven, let the loaves cool in the pans for a few minutes before transferring them to a wire rack. Allow them to cool fully before slicing. But let’s be honest, cutting off a warm piece for yourself while it’s still steaming is an experience you shouldn’t skip!
Nutrition
Notes
Tried this recipe?
Let us know how it was!FAQs
1. Can I use whole wheat flour instead of white bread flour?
Yes, while it will change the texture slightly, using whole wheat flour can yield a heartier loaf. You might need to add a bit more water since whole wheat absorbs more moisture.
2. How do I know when my bread is done baking?
The bread should have a golden-brown top, and when tapped on the bottom, it should sound hollow. This is a classic sign that it’s done!
3. What can I do if my dough isn’t rising?
Ensure your yeast is fresh and that the conditions are warm enough. Yeast thrives in warmth; try placing it near a preheating oven!
4. Can I add ingredients like cheese or herbs to this bread?
Absolutely! Adding herbs, cheese, or even seeds can enhance the flavor wonderfully. Just fold them in gently while mixing the flour.
5. How long does this Amish bread stay fresh?
At room temperature, it lasts about 3-5 days. If you freeze it, it’ll keep for about 3 months as long as it’s tightly wrapped.
Conclusion
Baking your own Amish bread is not just about creating a nutritious staple for your meals; it’s an experience that brings warmth and a sense of accomplishment. These loaves are perfect for sharing, for special occasions, or for enjoying at home while relishing every bite.
Whether you’re slathering on butter or creating a fancy sandwich, this bread serves up endless possibilities. So roll up your sleeves, gather your ingredients, and let’s make some magic together in the kitchen! You won’t regret it!


