Ingredients
Equipment
Method
Step 1: Gather Your Ingredients
- Start by assembling all your ingredients on a clean countertop. This ensures you have everything at hand, making the process smoother and faster. Think of it like prepping for a cooking show, minus the cameras!
Step 2: Activate the Yeast
- In a large mixing bowl, pour the warm water (make sure it’s not too hot—110°F is just right). Add the granulated sugar and stir until it dissolves completely. Now, sprinkle the active dry yeast over this mixture. Let it sit for about 5 to 10 minutes, or until it looks frothy and bubbly. This means your yeast is alive and ready to work its magic!
Step 3: Mix in Oil and Salt
- Once your yeast is proofed, add the vegetable oil and salt to the bowl. Stir gently to combine. The oil contributes to the dough's softness, while the salt brings out the overall flavor.
Step 4: Gradually Add Flour
- Begin adding the bread flour, one cup at a time. Use a wooden spoon or a spatula to incorporate it well with each addition. The dough will start to come together, getting thicker and more kneadable. You might need to switch to your hands eventually!
Step 5: Knead the Dough
- Turn the dough out onto a lightly floured surface. Here comes the fun part. Knead the dough with your hands for about 8 to 10 minutes, or until it’s smooth and elastic. If the dough is sticky, dust a little flour to help with the kneading process. You’ll know it’s ready when it springs back when you poke it!
Step 6: First Rise
- Place your kneaded dough into a well-oiled bowl, making sure to turn it around so it gets coated in oil. After that, cover it with a damp cloth and let it rise in a warm spot for about an hour, or until it doubles in size. This is where the yeast really gets to work!
Step 7: Shape the Loaves
- Once your dough has risen, punch it down gently to release the air. Knead it slightly for a few minutes, then divide it in half. Shape each half into a loaf and position them in two well-oiled 9x5-inch loaf pans.
Step 8: Second Rise
- Cover the loaf pans with that damp cloth again. Allow it to rise for another 30 minutes or until the dough has risen above the pans by about an inch. Now’s the time to preheat your oven to 350°F (175°C).
Step 9: Bake
- When the dough has risen adequately, place the pans in your preheated oven. Bake for approximately 30 minutes or until the tops turn a beautiful golden brown. Your kitchen will start smelling heavenly!
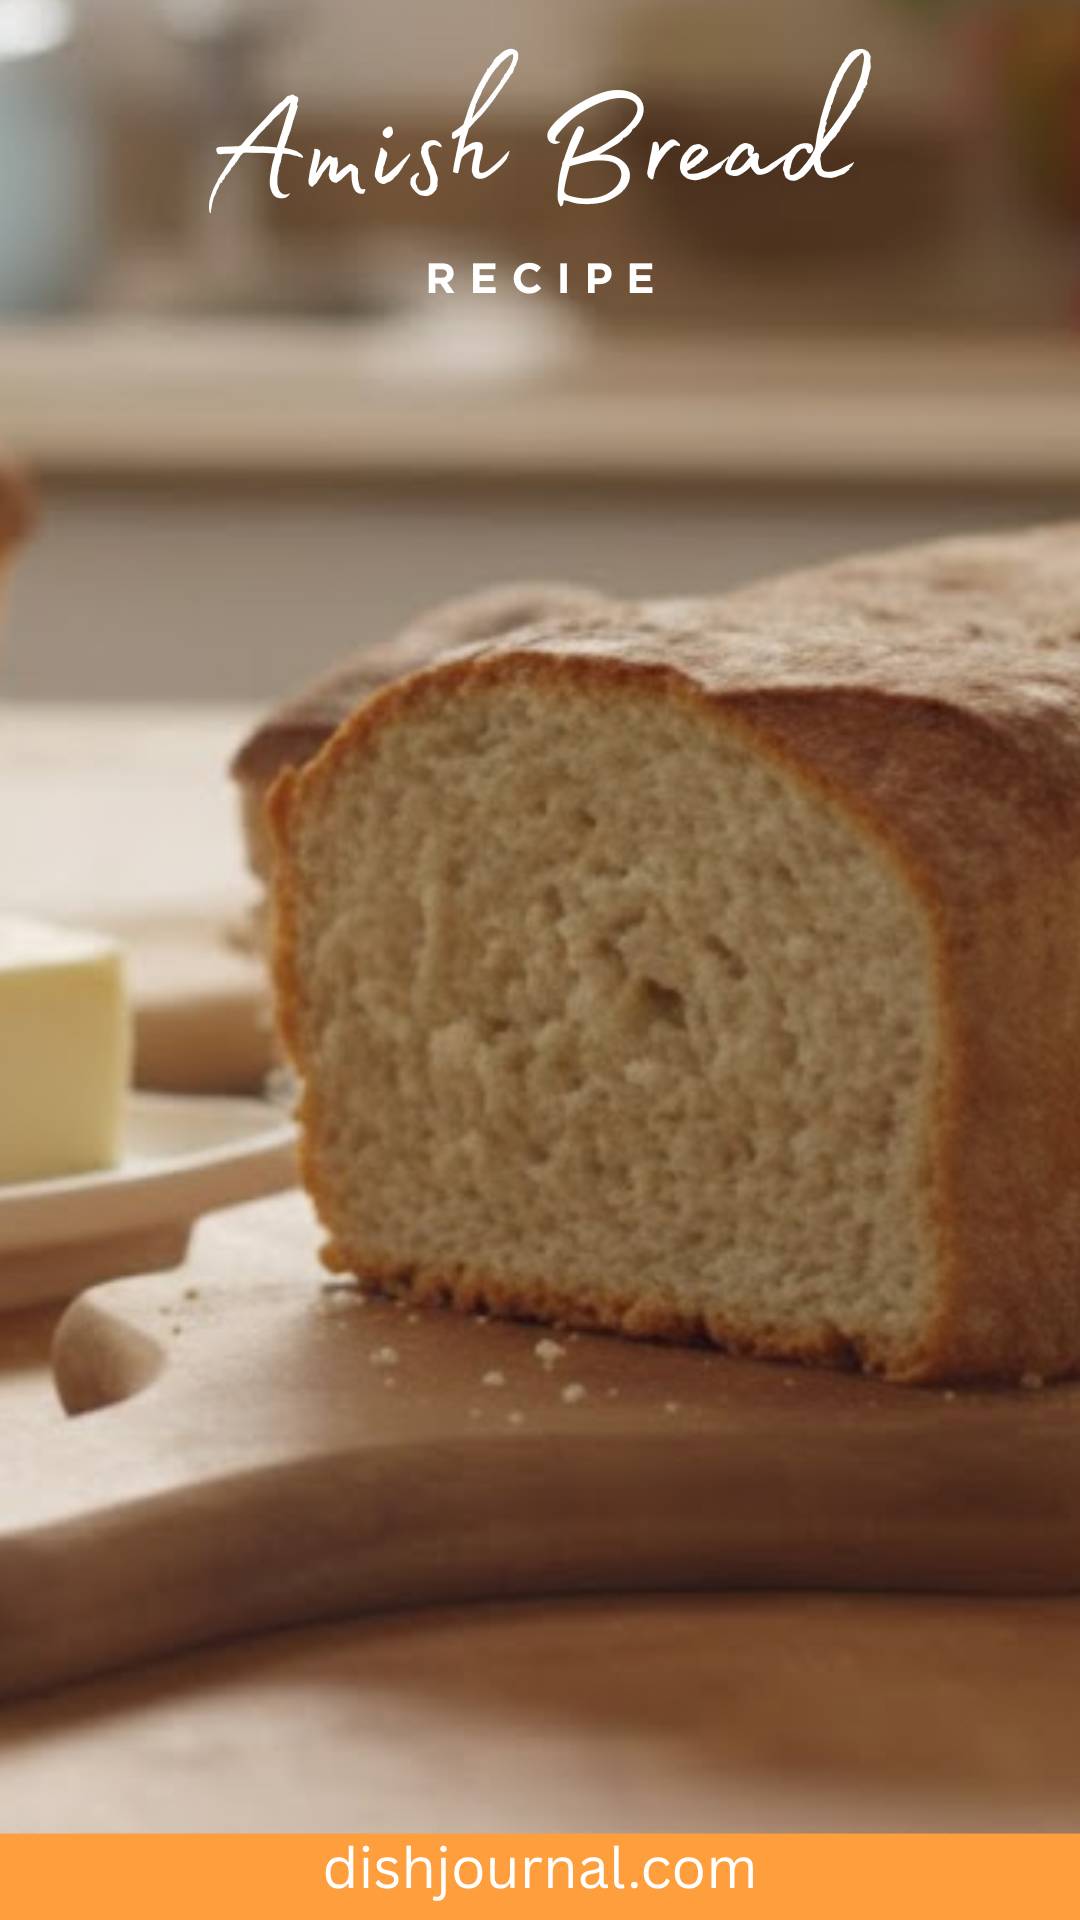
Step 10: Cool & Enjoy!
- Once out of the oven, let the loaves cool in the pans for a few minutes before transferring them to a wire rack. Allow them to cool fully before slicing. But let’s be honest, cutting off a warm piece for yourself while it’s still steaming is an experience you shouldn’t skip!
Nutrition
Notes
- Measure Correctly: Use a kitchen scale for precise measurements if you have one. Baking is scientific, after all.
- Watch the Yeast: Make sure your yeast is fresh. An old packet might not activate, leaving you with flat bread.
- Knead Thoroughly: Don’t rush the kneading process—this develops gluten, giving bread that desired chewy texture.
- Experiment with Flavors: Think herbs, spices, or even cheese! Just keep the primary proportions intact.
- Don’t Skip the Rises: Allow your dough to rise adequately, as this is where the flavor and texture develop.